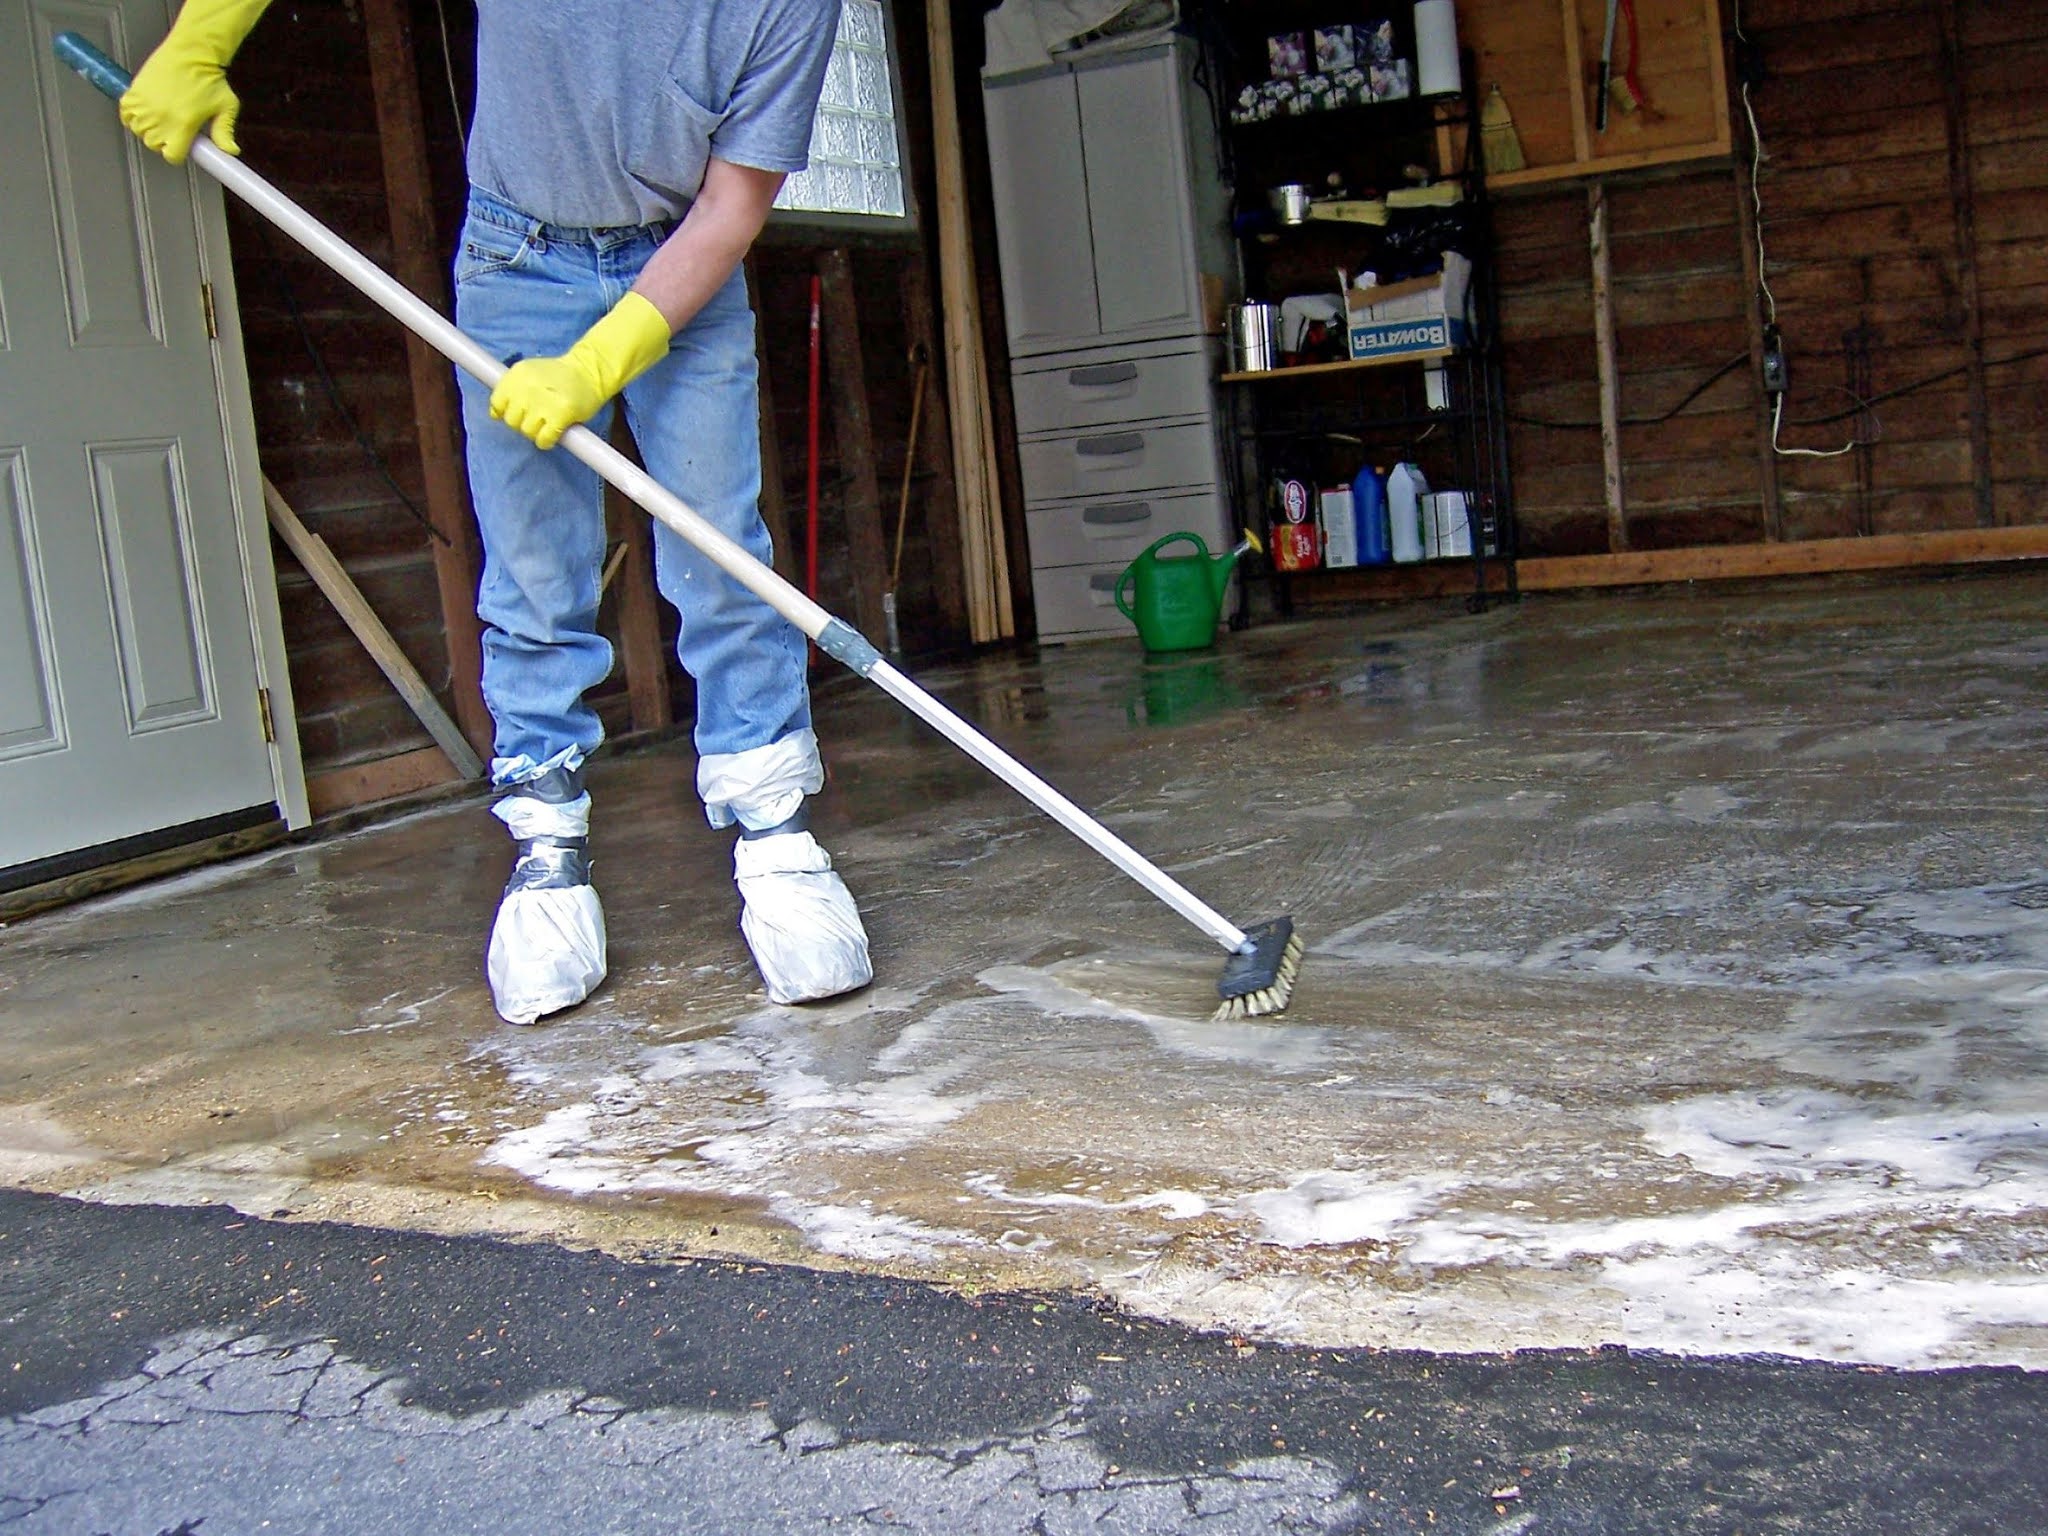
Post your own renovation in this home improvement, we will explain in detail about tiles cleaning and how to install ceramic wall tiles.
This DIY project will require your tools.
- Marked the troll
- Grout mixer
- Drill
- Dustpan
- Medium size bucket
- Measuring tape
- Level
- Pencil
- Grout sponge
- Saw wet tiles
- Ceramic tile nibblers
- Ear protector
Ceramic tiles come in different colors and sizes. From 1 inch to a full 18 inches. Although most people like to use 4-inch tiles on the walls, the most popular size tile is 12 inches. When choosing a wall tile around a tub, you need to make sure that the tile is water contaminated (water will not enter it). Tiles that are water-resistant and repel water are known as semi-glazed and defective ceramic tiles.
Preparing the wall for installation
Ceramic tiles can be installed on a variety of materials. Including drywall, water-resistant drywall, plaster, and cement backer board. If it is to be installed around a tub or in the back of a kitchen, green waterproof drywall or cement board should be used. In this post, we will explain how to do tile sealing on waterproof drywall.
If you are using cement board for your project, remember that the cement board is cut in the same way as a regular drive wall. Score the drywall with the utility knife, bend it and draw on the line, and cut the paperback. You have to keep in mind that the cement board can interact with water. Therefore, galvanized screws should be used to extend the walls of the wall (approximately 6 inches) leads
Marking the wall
If you are laying ceramic tiles around the tub, I recommend working on it so that the center of both tiles ends in the middle of the shower control, tub spout, and showerhead. This will make it easier to reduce and reduce labor costs. Also, it will reduce the need to use special tools for cutting holes in ceramic tiles. Remember that you want the tiles on both sides to be the same size.
Make a mark where you want to tile and mark the vertical and horizontal lines. When marking your horizontal line, make sure you measure the tiles accurately so that the tiles do not sit directly on top of the tub. If the tub shifts or moves, the tile may break. To keep the tile away from the tub, place only the tile spacer on either side between the tile and the grout. See the image below for a better understanding.
Ceramic tiling
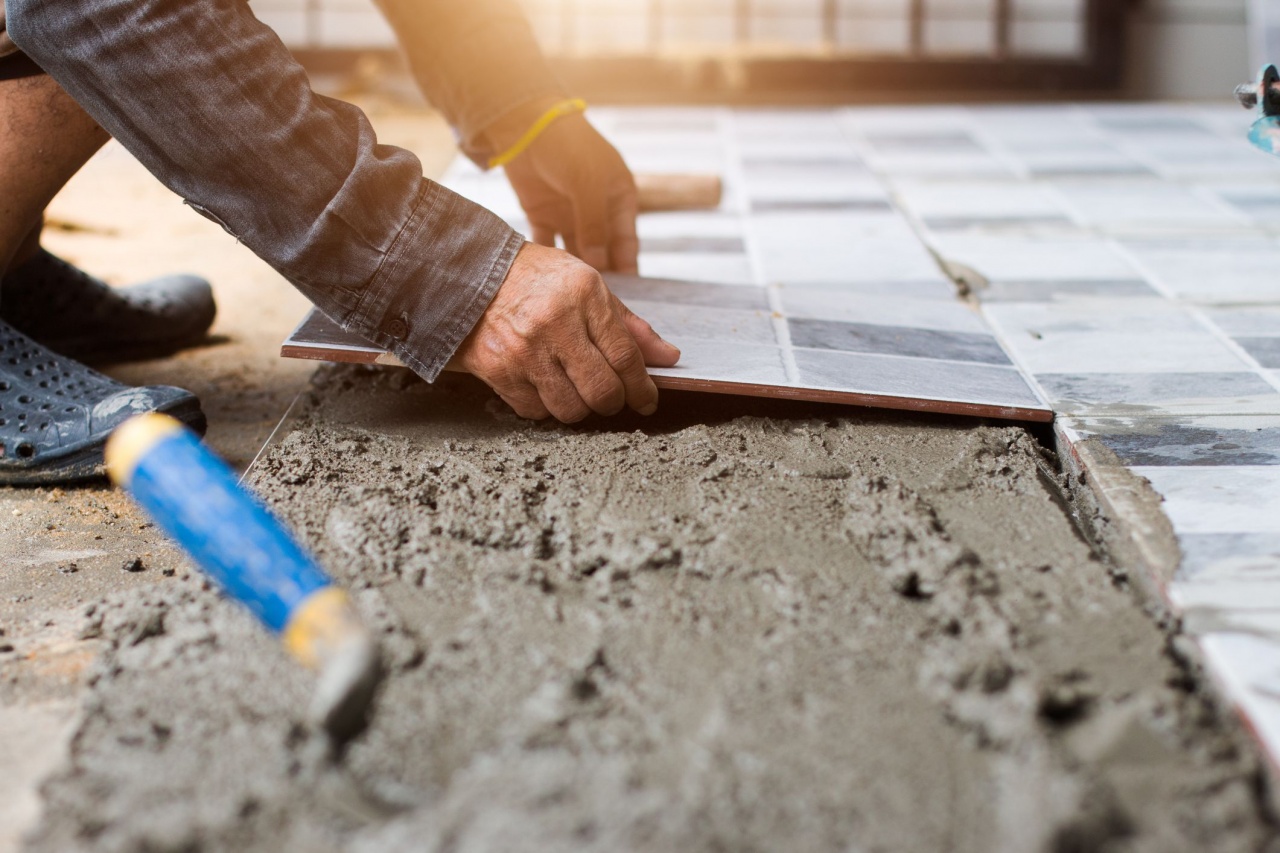
When installing ceramic tiles, start from the center of the shower control and work downwards to the left and right. Starting in the center, apply a premixed tile adhesive coat to an area, making sure you don’t cover your lines. Spread the adhesive on your adhesive troll to make the adhesive. See the example below to get a better understanding.
Also, if you prefer, you can do what is called “back buttering” tiles. Each tile is done one at a time, spread on the back of the adhesive tile, and placed on the wall. See below.
Rotate each tile slightly and press it into place. This movement ensures good contact with the tile adhesive. When working your way along a horizontal line, place tile spacers between each tile, making sure your grout lines remain constant. Tiling one at a time, working from one horizontal line to the next, placing spacers along the way to maintain the ground line.
When you reach the corner, measure the required amount of tiles and cut with your wet tile saw. The rest of the cut tiles will be installed on the opposite side of the same corner. As described below.
If and when you reach a hole that needs to be cut, measure an obstacle from the installed tile, and move the mark to the ceramic tile. Once this mark is formed, use your wet tile saw and make several small cuts from the edge of the tile to the mark. At this point, the tile should be ready to install. If the edge of the tile is sharp, smooth the edge with 80 grit sandpaper.
It is also very likely that at some point you will remove your tile from the middle wall. When installing ceramic tiles in this fashion, you should use a ceramic tile finish strip. These strips have a level installation in which they are placed on the adhesive. The tile is then cut and placed on top of the end strip, and the edge of the tile factory touches the end strip.
If you can’t finish the job all at once, you don’t have to stick to the wall for long. The adhesive will be very difficult to remove and it will be almost impossible to tile the area. Using a flat edge putty knife, remove excess adhesive from the wall.
Tile growth
Once the tiles are fully installed and the adhesive is applied (24 hours), it will be time to grout the tiles. See below.
Depending on the width of your grout lines, you will have to choose between sanded and non-sanded grout. If the spaces between the tiles are more than 1/8 inch, use sanded grout (this type of grout contains sand particles that help strengthen the grout joint).
Before grounding your tile, remove all your spacers and remove any excess adhesive that may be left behind.
Follow the manufacturer’s instructions and start mixing the grout. I recommend emptying two cups of grout and slowly adding water to the bucket until you have consistency. Persistence should be like peanut butter or a warm heart. See the image below for a better understanding of grout consistency.
Note: If you are grouting in the bathroom or kitchen area, make sure your grouting includes a waterproofing agent.
Using a rubber grout float, apply the grout to the grout lines at a 45-degree angle. By pressing the grout lines firmly, make sure that the grout fills the space between the tiles and goes all the way to the seams. When working in a 3 ‘x 3’ area, make sure you get coverage on all types of lines as well.
At a 45 degree angle to the grout lines, after all, grout has been applied, clean any excess grout with a damp wet sponge and clean the sponge regularly with clean water (as shown in the picture below). When applying grout to a wall, make sure there is no grout on the floor or use a dustpan to prevent it from falling.
After the grout has set for about 30 minutes, tiles cleaning should be done with a sponge, and repeat. You may need to work several times before the grout is completely removed from the surface of the trowel.
To finish work
Allow the grout to dry for about 24 hours, and remove any surface fog with a damp cloth. Be sure to clean the tiles until the grout is wet. If your wall is in the kitchen or bathroom, use clear mold-resistant silicone to seal the edges of the ceramic tile where it meets the tub counter or top.
Note: Also, it is a good idea to install the grout sealer in a week or more. This will prevent any dirt or stains from entering the grout and spoiling its appearance.